Game:
Torchlight 2
Bare Mod:
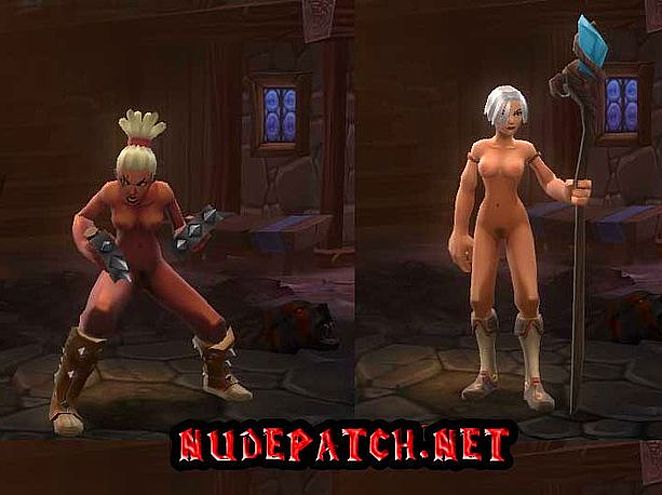
Torchlight 2 nude mod – Nude Player Characters V1.0 by nudepatch.net
Usage Torchlight 2 mod:
1. Extract the Torchlight 2 naked skins archive.
2. Create any folder in the “../Torchlight2/paks/” and place there data.pak and data.pak.man from this folder.
3. Run Torchlight2Extractor.exe. Select “Open file” from the top menu and locate “../Torchlight2/paks/FOLDER/data.pak” where FOLDER is the name
of the folder that you created.
4. Select “Patch” from the top menu. Choose “../Torchlight2/paks/data.pak” then select “Torchlight 2 Nude Mod” folder
that you extracted from the Torchlight 2 nude patch archive.
Enjoy!
Notes:
All rights and thanks for “Torchlight 2 PAK Files Extractor” belong to Raptor.


Leider wurde vergessen darauf hinzuweisen dass die neuen Pak Dateien wieder den ursprünglichen Namen tragen müssen !!!! (Data_new.pak muss wieder Data.pak heissen sonst funzt es nicht ebenso die andere pak Datei)
Torchlight2Extractor.exe is in some East European language, possibly Polish or something, and, oddly enough, gave me the message it ran out of memory, while I got plenty of extra memory on my computer. I guess a working version is not available.
HOW TO RUN TORCHLIGHT 2 MOD
Hello everyone! I have found the WAY TO INSTALL THIS MOD and wanna share it with you! The Torchlight2Extractor which comes with this mod is an outdated tool and it will not work. But I did not give up and kept trying for solution, and it worked. The point is, the modern version of the game has an official editing tool and mod launcher, which the older versions had not. We are gonna use this tool to install the mod:
Create the folder called MODS in the game directory. it should be like this: Torchlight2\MODS
Go to the game directory. Right there in the game folder there will be a program called Editor.exe. Launch it.
The promt will appear asking for mod folder location. Click NEW, enter the name, for example mymod. Make sure that the path as the result is shown like this: \mods\mymod. Click ok.
At the first startup it might ask to unpack the DATA.pak, I am not sure if it does ask. I did unpack, but maybe I did something differently because I was experimenting, I cant remember. Anyway, if it does ask to unpack, let it unpack. It will be a little slow, but its ok. Also the program might kinda freeze at startup, if it does, just close it and start again, that is normal too.
The Guts interface will open. At the right-bottom corner, notice the 3 tabs. Select MODS tab. Then, at the same column, look at UPPER tabs, under “Current Mod” path. Select FILES tab. Click Refresh. Notice that mod.dat and the MEDIA folder have been created at the directory of our new mod.
Minimize Guts and go to this directory: Torchlight2\mods\mymod. Make sure the MEDIA folder is there. But right now, its empty. Let’s paste the contents of the mod we downloaded from nudepatch.net in there! Unpack Torchlight2-nude-patch, copy the MEDIA folder from there, and merge it with the same folder in Torchlight2\mods\mymod.
Now, lets pack up our mod! Open Guts. See, above the upper tabs, it says Mod and Steam? Click mod ===> Package and publish. In the opened form, uncheck all publishing options if nessesary. Press Build. It should say at the end of log that building is successfull.
To launch the mod, open ModLauncher.exe at the Torchlight2 folder. Select the button which shows triangle+cog. At the promt which opens, mymod with checkbox should appear at the left, if everything worked out. Press the launch button, and the game will open. The models at character creation screen should be nude!
If you are confused about Guts interface and cant find what I state here, I stress that everything described is located at the RIGHT subwindow. On the RIGHT. Nevermind everything else.
I am glad if this guide has helped you. And I am hella glad that I managed to run this thing myself, haha. Obviously, I dont just casually know how to use Torchlight2 editor and its file structure and everything with that. It took a fair bit of research and reading old comments and screwing around with files and folders to understand why it wasnt working and what could be done. So, it was very rewarding in the end to finally see it working.
Many thanks for sharing of so detailed guide with Community.